Cloud Workspace is your comprehensive development environment, running a full instance of VS Code on a remote container, enhanced with Bit-specific features through the Bit VS Code extension.
Utilize the Bit Extension to manage most development operations within the workspace. It streamlines component creation, application execution, and more.
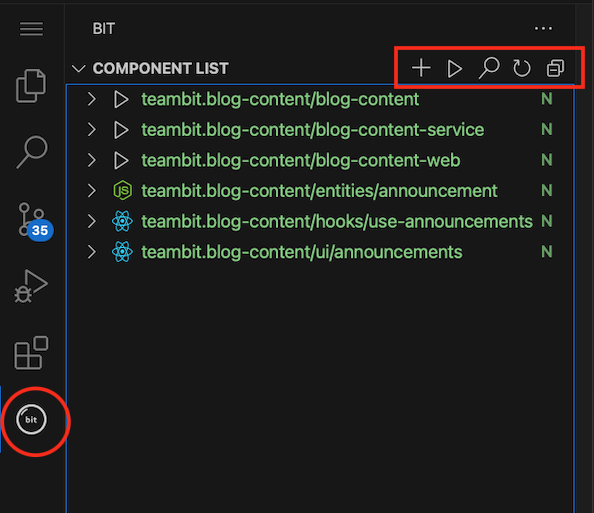
For CLI enthusiasts, the integrated terminal provides direct access to Bit CLI commands!
Render components and their documentation by initiating the main "Start" action from the Bit Extension. This launches the Workspace UI preview application, showcasing all workspace components with immediate reflection of code changes.

Applications are marked with a "play" icon. Hover over a component and select "Start" to launch a dedicated server.
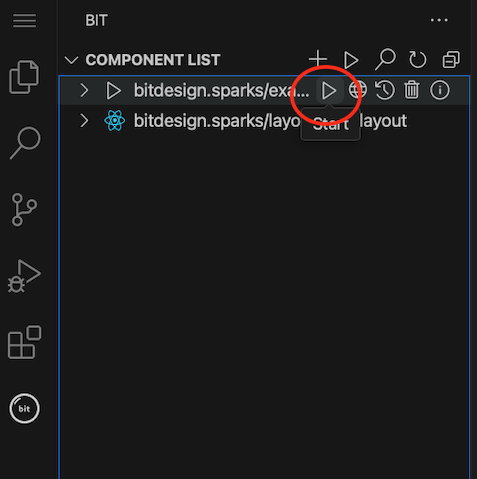
This starts a dedicated server for the application.
Forward ports for applications running in the workspace to your local system by configuring the "ports" setting.
Propose your component changes by creating a change request. First, establish a Lane to consolidate all component modifications.
Click the lane switcher button (bottom-left corner).
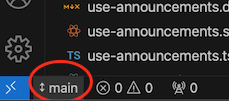
Select "Create new lane" and provide a descriptive name for your changes. Note: Lane names should be alphanumeric and use "-" instead of spaces.

Navigate to the "Source Control" tab, add a commit message detailing your changes, and select "Snap and export."
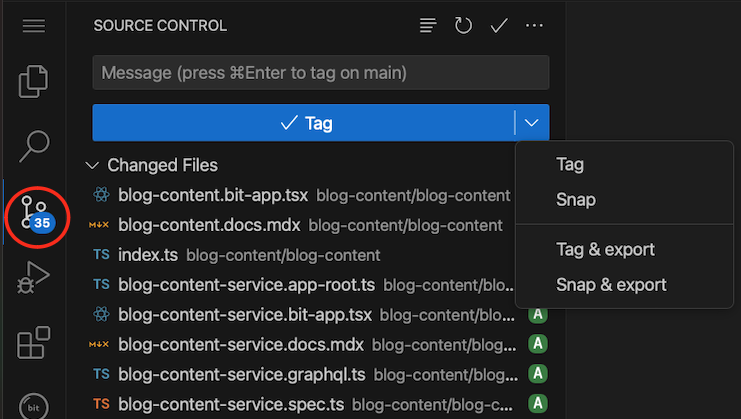
Receive a notification when Ripple CI starts building your code. Upon CI completion and approval, your components become available as packages for other projects. New components are accessible to other projects only after approval.
Cloud Workspace includes pre-configured templates. Click the "+" icon to view available templates.
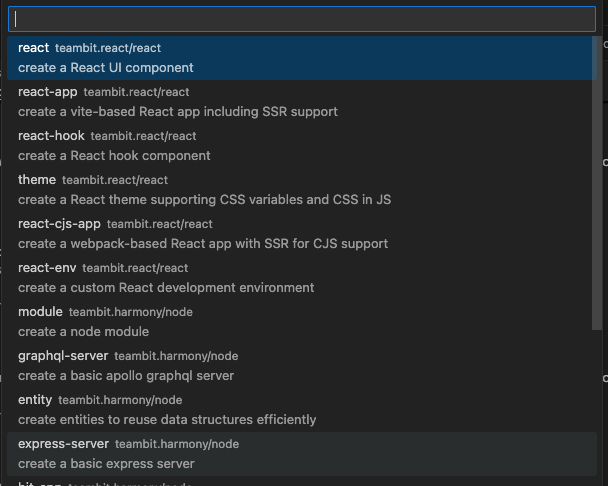
Select a component name, ensuring it includes a scope name (e.g., business domain).

A new component is now available in your workspace.
You can configure available templates.
To compose, use, or integrate components, add an import statement, treating the dependency as an external component, even within the same workspace. Example:
import { Button } from '@my-account/design.button'

Install external components as dependencies if they are not in the workspace. Copy the component's package name from its page:
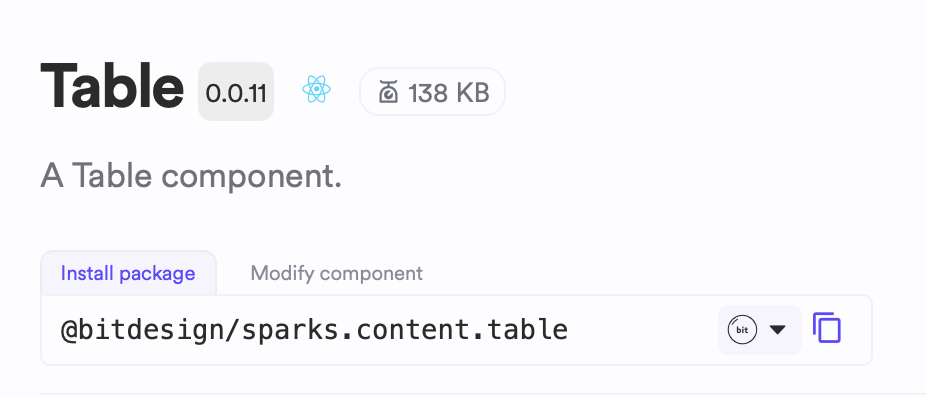
In your Cloud Workspace terminal, use the bit install command:
bit install @bitdesign/sparks.content.table
To use an NPM package in a component, copy its name and use the bit install command:
bit install lodash
Import and use the dependency in any workspace component:
import { throttle, debounce } from 'lodash'
Use named imports and ESM for optimal tree shaking.
To modify or fix a Bit Component dependency within your workspace:
- Locate the dependency's import statement.
- Right-click the dependency name.
- Select "Import package as component."
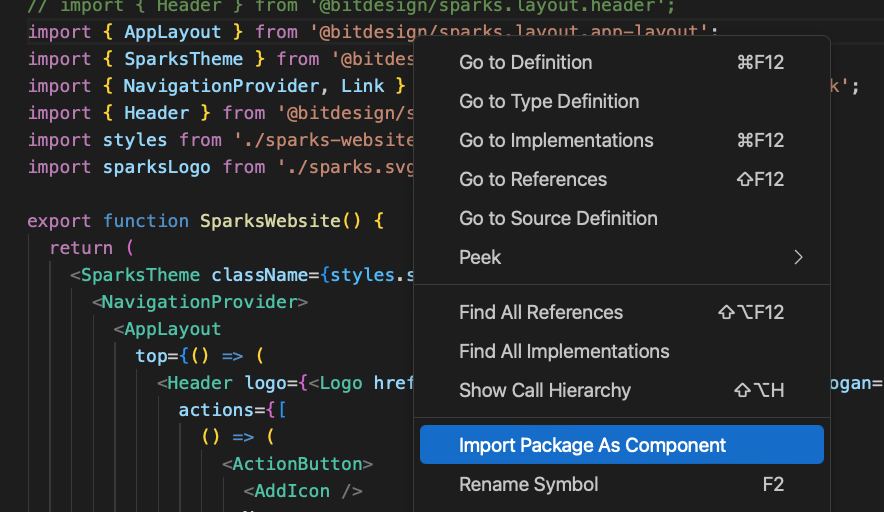
After a brief wait, navigate to the component files using cmd+mouse left click (or ctrl on Windows/Linux). Changes to the dependency will be included in the review process.
Cloud Workspaces includes default tsconfig, eslintrc, and *.spec.ts files for IDE hints on potential production issues. Run these tools for a comprehensive report:
bit check-types- TypeScript type checking.bit test- Vitest test suite execution.bit lint- SLint code quality checks.
Cloud Workspaces is pre-configured with a debugger for breakpoint debugging of backend/Node services and unit tests.
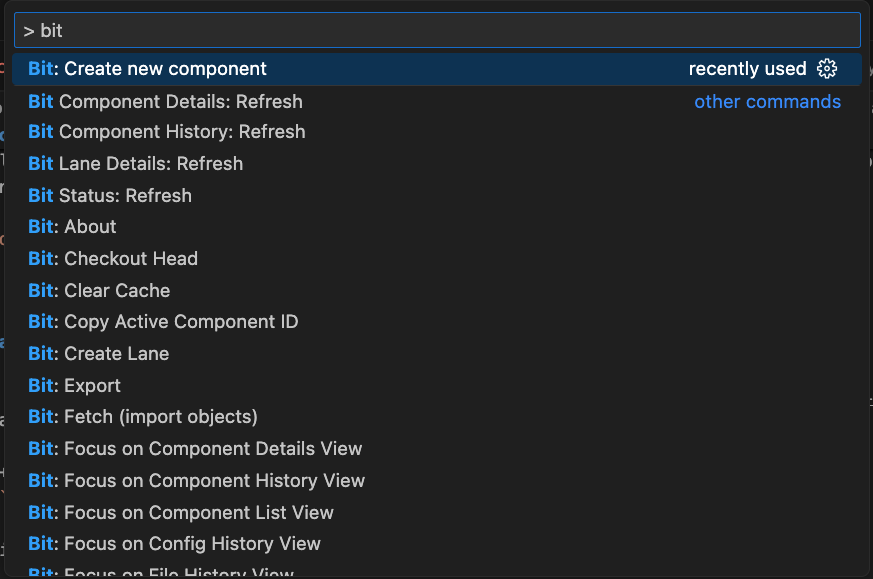
Bit CLI is installed in Cloud Workspace. Access commands via the terminal or VS Code command palette:
Shift+Command+P- MacCtrl+Shift+P- Windows or Linux
All Bit commands are pre-fixed with "bit".
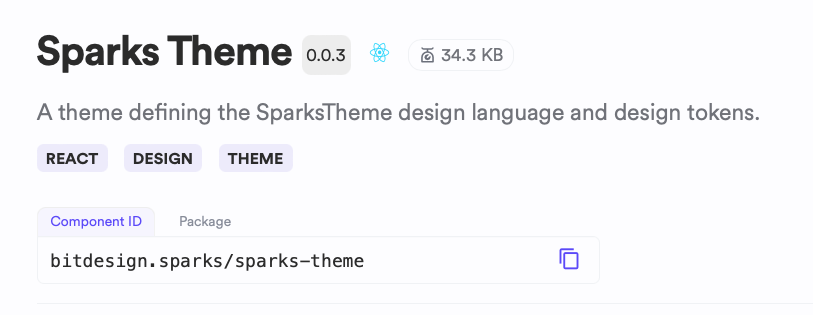
Copy the component ID from any component page:
In your Cloud Workspace, use the command palette to find and execute the bit: import command, pasting the component ID.
